This post may contain affiliate links. Read disclosure policy
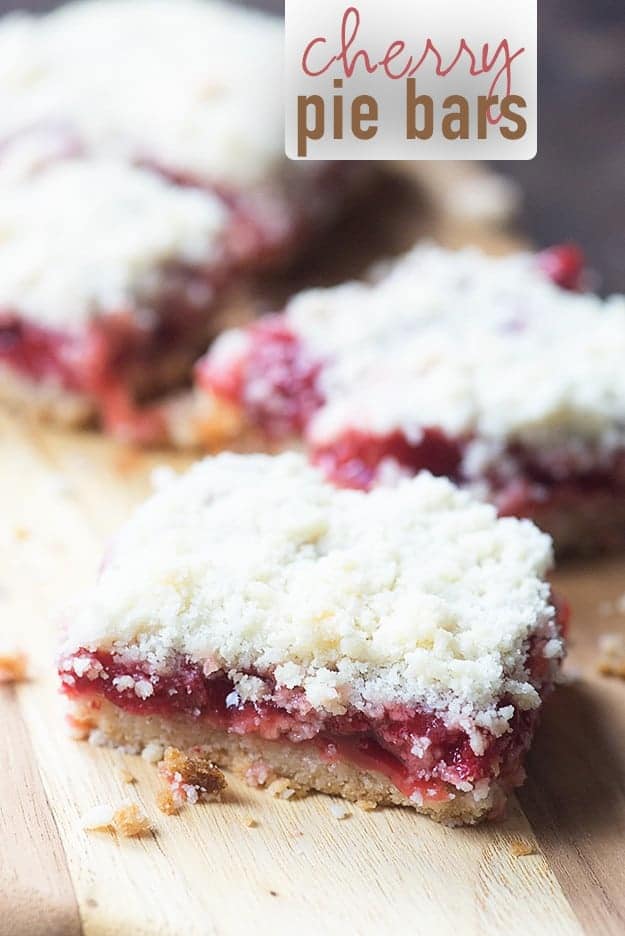
These Cherry Pie Bars are made with just 4 simple ingredients, featuring sweet cherry filling and a buttery streusel! So much simpler than baking a pie, but just as delicious!
I heard recently about drinking tart cherry juice before bed to help you sleep better and, while I’m not a big fan of juice, I’m here for the ‘cherries help you sleep’ info.
Yes. I’m using that bit of science to justify eating these Cherry Pie Bars before bed. Not that I really needed a justification, considering these bars have a simple butter crust, a thick layer of cherry pie goo, and a crumbly streusel topping.
But, hey, if we can pretend I’m shoving these in my face at 9pm for health reasons, then that’s what we’re going to do, ok?
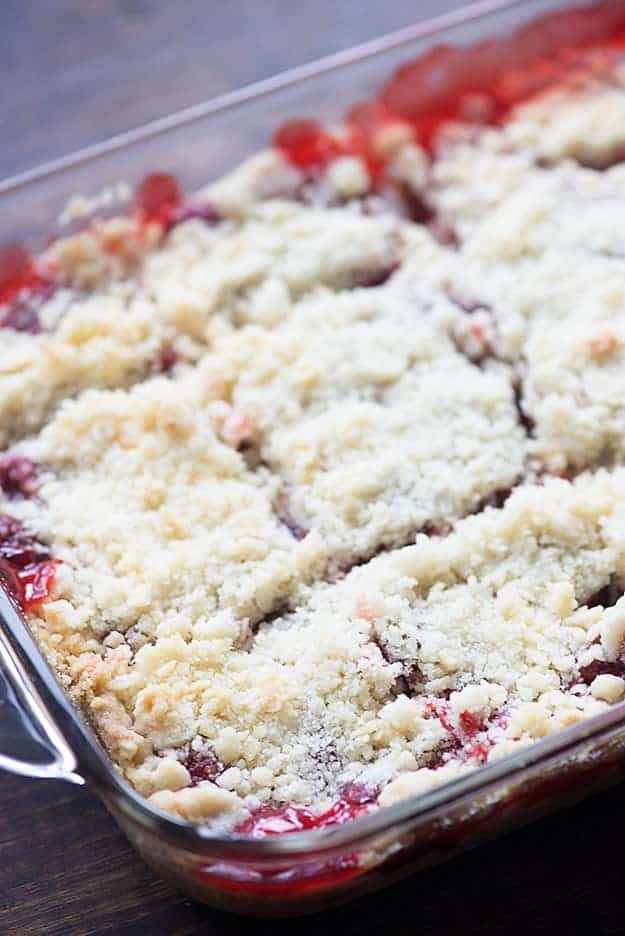
Of course, these are also great for sharing with friends and family! This recipe for cherry pie bars is made in a casserole dish, which means there is enough to share.
And when I say easy, I mean easy, guys. This one literally has 4 ingredients!
Not into pie bars and want a traditional pie? Try our buttermilk pie or chocolate pecan pie!
Not into pie at all? Try our blueberry crisp recipe or this cherry pineapple dump cake!
???? Ingredient Notes:
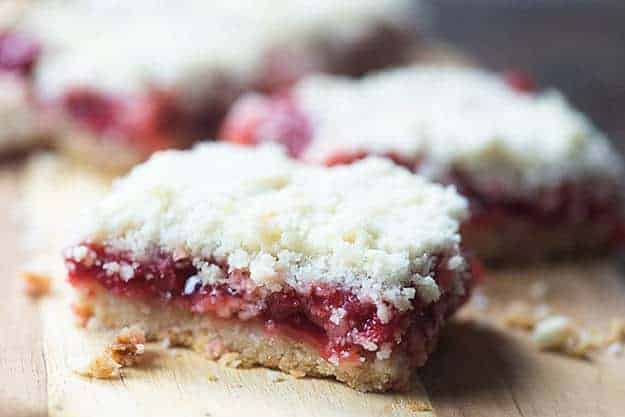
Cherry Pie Filling – It doesn’t get much easier than this! Grab a can of cherry pie filling from the store. You probably already have the other ingredients on hand.
Crust & Topping – You’ll need butter, sugar, and flour to make both the crust and topping – all in one bowl! The crust gets pressed into the pan and topping gets sprinkled on, so it’s two different textures, but still the same thing. <— Maximum simplicity.
What Readers are Saying!
“These cherry bars are amazing! I wanted an easy recipe that uses a can of cherry filling I have had in my pantry for awhile. I wanted an extra dessert for Thanksgiving and found this one! So easy to put together and the crust is a nice shortbread type of crust. I know they will be a hit! Thanks for the recipe!” – Judy
???? How To Make Cherry Pie Bars:
Prepare the Crust: Add the flour, butter, and sugar to a mixing bowl and use a pastry cutter or a couple of knives to cut the butter into the flour and sugar until you have coarse crumbs.
Note: You can do this with a food processor too, just make sure you don’t overly mix it. You want coarse crumbs.
Bake the Crust: When you’ve finished preparing the crust ingredients you can go ahead and pour half of it into a baking dish. Press the dough firmly into the bottom of the dish and bake it for about ten minutes. This will form the bottom crust layer of the cherry pie bars.
Add the Filling: When the crust has baked for about ten minutes you can remove it from the oven and open up the can of cherry pie filling. Spread the filling over the top of the baked crust. Finally, sprinkle the remaining half of the crumbly crust mixture evenly over the cherry pie filling.
Bake: All that’s left is to finish up the baking. Add the dish back to the oven and let it bake for about an hour or until the crust has started to turn golden on the edges.
Let these cool completely and you can pick them up with your hands for a portable handheld pie. Orrrrr, scoop some out of the dish warm and top it with vanilla ice cream for more of a cherry pie crumble situation. Either way, this stuff is good.
Skip your usual cherry pie recipe. These are just as good and way simpler!
Storage:
Store these cherry pie bars in a covered dish in the refrigerator for up to 4 days.
Rewarm in the microwave in 10 second bursts if you’d like to serve these warm, but they’re also tasty straight from the fridge!
Variations:
You can swap any can of pie filling for the cherry pie filling in this recipe.
Blackberry, raspberry, blueberry…all delicious pie options!
More Fruit & Pie Recipes!
Cherry Pie Bars
Ingredients
- 1 1/2 cups all-purpose flour
- 3/4 cup sugar
- 12 tablespoons butter cut into cubes
- 21 ounce can cherry pie filling
Instructions
- Preheat oven to 350 degrees.
- Add flour, sugar, and butter to a medium mixing bowl and use a pastry cutter or two knives to cut the butter into the flour and sugar until you have coarse crumbs. Alternately, add the flour, sugar, and butter to the bowl of a food processor and process just until you have coarse crumbs. Do not overmix.
- Press half of the dough into the bottom of a 7×11 or 9×9 baking dish. Bake for 10 minutes.
- Remove crust from the oven and spread the cherry filling over the top. Sprinkle the remaining crust mixture evenly over the filling.
- Return to the oven for 50-60 more minutes or until the crust is starting to turn golden at the edges.
- Cool completely before cutting and serving.



Joan Thomson says
Soooo good
JM says
This was very good! I added a generous pinch of salt (all sweet recipes need a dash of salt) and a few teaspoons of vanilla paste to the mixture and it came together well. I’d make this again.
Arfa says
Did you use granulated or powdered sugar?
Karly says
Granulated sugar.
judy says
These cherry bars are amazing! I wanted an easy recipe that uses a can of cherry filling I have had in my pantry for awhile. I wanted an extra dessert for Thanksgiving and found this one! So easy to put together and the crust is a nice shortbread type of crust. I know they will be a hit! Thanks for the recipe!
Karly says
Yay! Glad to hear that!
Jodie says
Oh boy! You were right! These are AMAZING! Thanks for sharing!
Diane says
You know you can micrwave this for between 5 to 10 minutes, and not heat up the kitchen. It also uses less electricity.
Diane P says
Microwaves kill food. The radiation makes it dead food. The oven doesn’t do that. Consider a toaster oven if you’re concerned about heating up your kitchen.
Karen says
Can this be made to accommodate a 9x 13 pan?? These look amazing, thank you for sharing 🙂
Karly says
Hi Karen! I haven’t tried, but doubling the recipe will likely make a bit too much. So if you don’t mind a bit of waste it’d be fine to double, or if you don’t mind a bit of math, 1 1/2 times the recipe would likely be the right amount.
Kay says
Your recipe has a built in scaler to adjust the recipe size. Just hover over the number of bars and change it from 9 to 13 to get a good quantity for a 9×13 pan.
Kim Williams says
Hi, 9×9 or 9×13 pan? I see both in your description.
Karly Campbell says
Sorry about that! 9×9 or 7×11 will work great!
Cathie McClure says
I see your nutrition information but wonder what size approximately a serving is for these values? These look delicious and will be on my table soon. Thanx
Karly says
Hi Cathie! The nutrition is based on this making 9 bars.