This post may contain affiliate links. Read disclosure policy
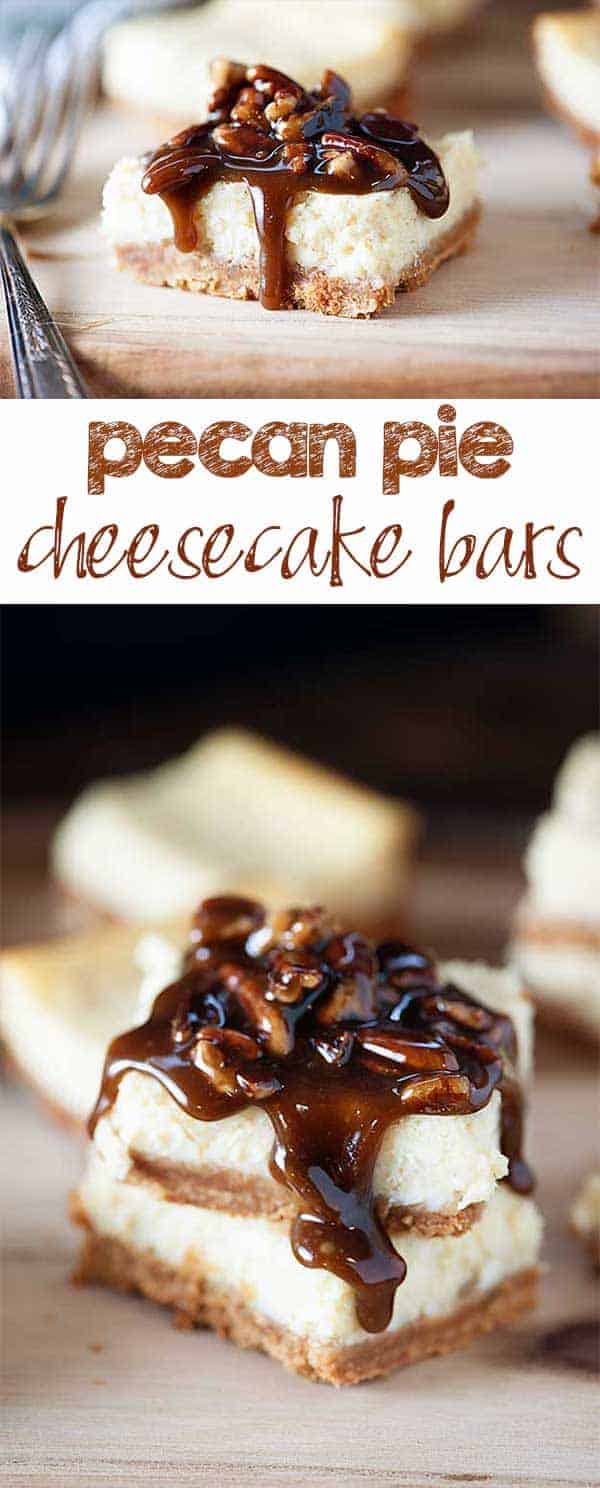
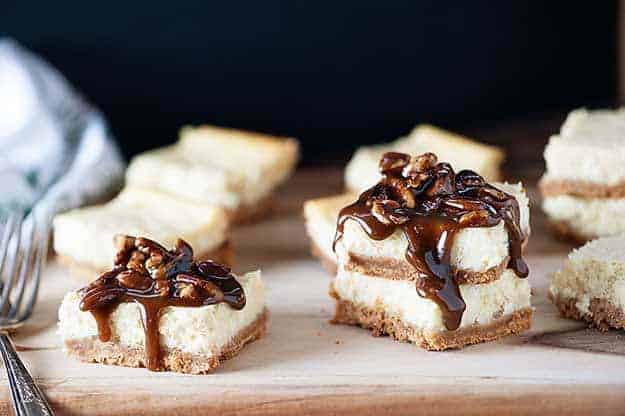
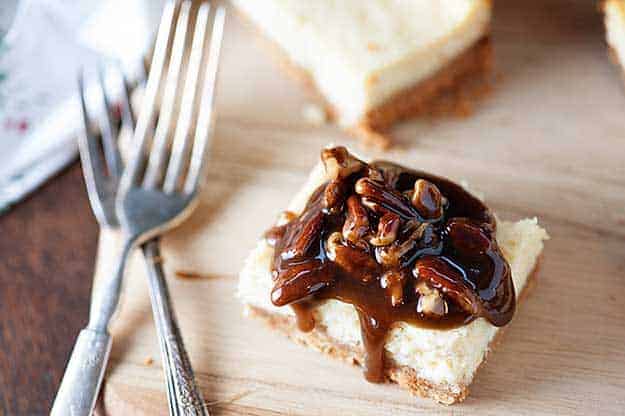
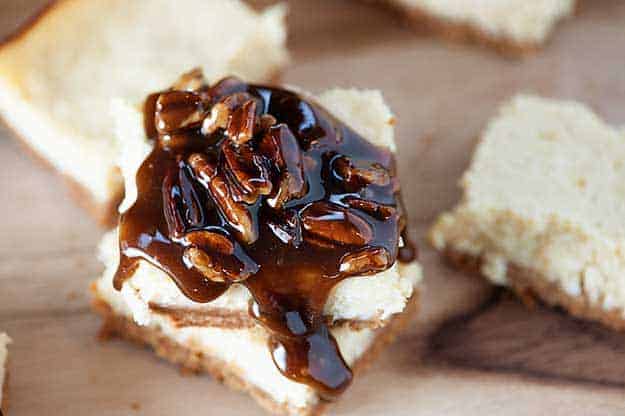
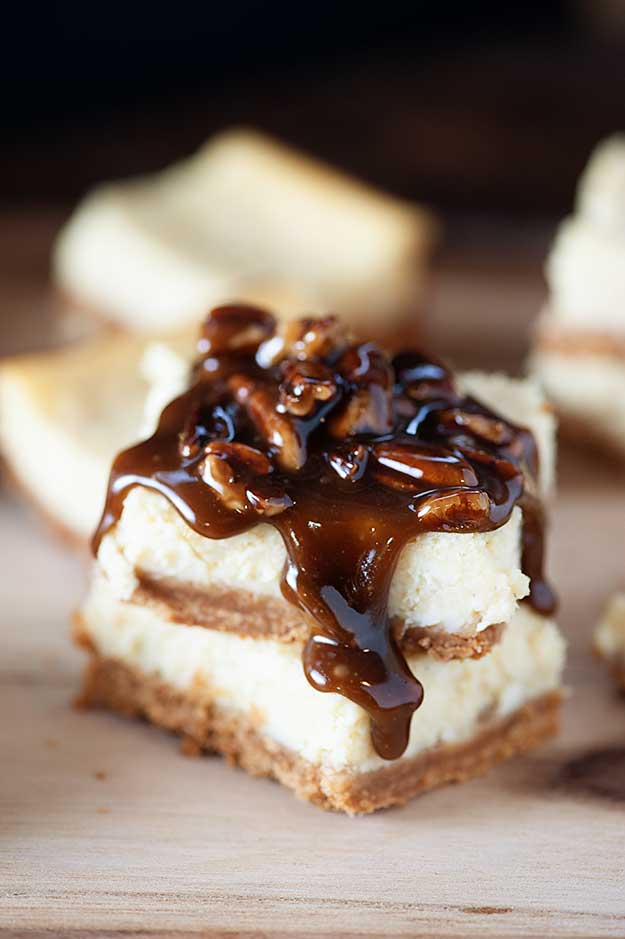
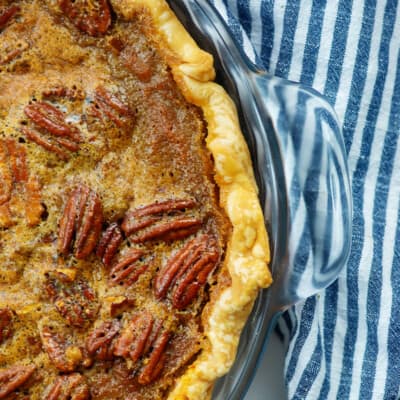
These pecan pie cheesecake bars are made with a thick and creamy cheesecake base and topped with a sweet pecan pie filling. These cheesecake squares are perfect for serving to guests or hoarding for yourself – they’re so good!
Would you like to save this?
You know, I am not a crafty person.
I tell people that and they nod and smile, but I don’t think they really understand. They assume that I can do things like color inside the lines or maybe spray paint a mason jar to make a candle holder or whatever other Pinterest-y thing is hot right now. Because that stuff is easy! Anyone can do that. Right?
You guys. No. Just don’t even assume I know how to properly hold a pair of scissors, k?
Which is why, when one of my favorite clients asked me to create a special cocktail for them (recipe coming soon!) and to tie a bow around the stem of the cocktail glass, I sort of fainted. I mean, cocktails – yes. Bows – no.
After I had revived myself enough to say, absolutely, sounds great, I had a panic attack. I mean, I’m a professional here. I can’t go telling clients that I don’t know how to tie a bow. But, seriously. I can’t tie a bow. I mean, what was I even going to use to tie the bow? My shoelaces? No, they’re too dirty.
I had to go to the local craft store. Aaaaand my super crafty and artsy daughter insisted on coming, so I ended up spending all the money ever.
But, I did leave with a pretty ribbon that I was fairly confident I could make into a bow. Oh, me. I was so cute and naive back then.
I watched video tutorials for an hour, you guys. That’s not an exaggeration.
Then, as I was sitting in my studio, head in the game, ready to kick this bow’s trash, I started gently tying the ribbon around the stem of the glass and the next thing I knew I was on the floor.
I was sitting in my chair. I was tying a bow. And then I was on the floor.
Who in the world can manage to fall out of a freakin’ chair while tying a bow? It’s not like it’s a contact sport. I need some serious help in the crafting department, you guys. Serious help. And also an ice pack, because that really hurt.
I’m happy to say that I manged to tie two bows (from the floor, obviously) onto the glasses without further incident. Also, I feel compelled to point out that it was 10am and I had not even had a sip of that cocktail I was photographing. I’m just that uncrafty.
So, that has nothing to do with anything at all, but I wanted to share because I thought you’d enjoy the story!
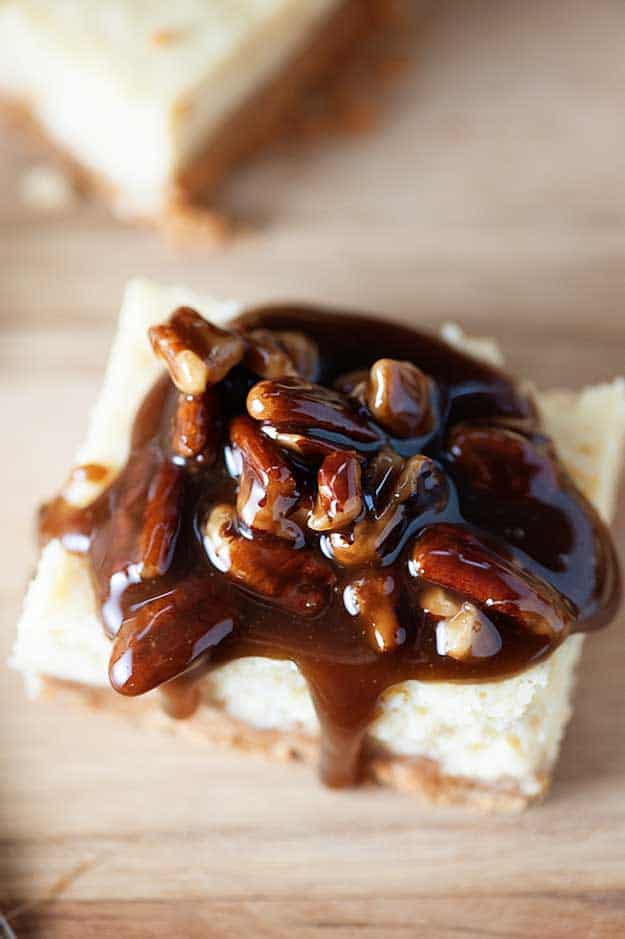
Today, we have pecan pie cheesecake bars! You know the sweet gooey pecan pie filling? It’s my jam. I could literally eat it on toast. So, I recreated that delightful treat and spooned it right onto a thick, creamy cheesecake base that’s lightly flavored with cinnamon. These bars are outta this world good!
I baked this cheesecake in a 7×11 pan, because I didn’t want the cheesecake to be too thin. You can purchase the one I use right here. It’s currently under $5, so hop on it!
Pecan Pie Cheesecake Bars
Ingredients
For the crust:
- 2 cups graham cracker crumbs
- 6 tablespoons butter melted
For the cheesecake:
- 16 ounces cream cheese, room temperature 2 packages
- 1 cup sugar
- 1/4 cup sour cream
- 3 large eggs
- 1 teaspoon cinnamon
- 2 teaspoons vanilla extract
For the pecan pie topping:
- 1/4 cup butter
- 1/4 cup corn syrup
- 1/4 cup brown sugar
- 1/4 cup maple syrup
- 1 cup chopped pecans
- Dash of salt
Instructions
- Preheat the oven to 325 degrees. Spray a 7x11 baking dish with non-stick cooking spray.
- In a medium bowl, mix together the cookie crumbs and melted butter. Press into the bottom of the prepared baking dish and bake for 5 minutes.
- Remove from the oven and set aside.
- In the bowl of a stand mixer, beat together the cream cheese, sugar, sour cream, eggs, cinnamon, and vanilla until well combined. Pour batter into the prepared crust.
- Bake for 40 minutes at 325 degrees or until the center is just slightly jiggly. Turn the oven off and crack the door. Let the cheesecake sit in the warm oven for 45 minutes. Remove to the counter to cool completely before chilling in the fridge.
- To make the topping, add the ingredients to a small sauce pan set over medium-low heat. Stir the mixture until the butter melts and the pecans are coated. Bring to a boil, stirring occasionally, and cook for 3 minutes. Remove from the heat.
- Immediately spoon the topping over the cheesecake. It will thicken up a bit as it cools, so it’s best to serve warm. You can add more maple syrup if it's too thick for your liking.
- Cut into small bars and serve immediately.
Tips & Notes:
- To store for later, keep the topping and cheesecake separate. Warm the topping when ready to use and then spoon over already cut slices of cheesecake.



Melinda says
The topping looks amazing! Unfortunately, I live overseas where maple syrup is hard to come by. Thankfully, I have some pecans from a package! Do you think this would work with “fake” maple syrup? Or is it best to leave it out? I have fake syrup we buy at the store that is maple flavored. And I also have some fake maple syrup we made by boiling water and sugar and adding maple flavoring. (Don’t cringe.) I don’t want the sauce to be too runny for the cheesecake. Any tips?
Karly says
Hmm, I think I would use corn syrup in place of the maple and add some maple extract if you want that flavor. I haven’t tried it this way, but it should work fine. 🙂
Emily @ Emily's Tasty Adventures says
Oh wow! These look beyond decadent!
Kelly says
I’m so in love with these bars! Two of my favorite desserts in one! Can’t wait to try them! Love your story about the bows, I thought I was the only uncraftsy one. Thanks for sharing!
Karly says
Hope you enjoy the bars! 🙂
Eden Passante says
Wow! What a great recipe idea! These look so good!
Michelle @ Modern Acupuncture says
Amazing! These look so decadent. Cannot wait to give them a try!
Karly says
Thanks, Michelle!